NEGATIVE ION DIY CREATIONS: CRAFT YOUR WAY TO A HEALTHIER HOME
In the pursuit of a healthier and more invigorating indoor environment, many are turning to the natural benefits of negative ions. These charged particles, prevalent in natural settings like waterfalls, forests, and oceans, are associated with improved air quality and enhanced well-being. Fortunately, you can harness the power of negative ions right in your own home with a bit of creativity and a handful of materials. In this step-by-step guide, we’ll walk you through the process of crafting DIY projects that increase negative ions, such as homemade salt lamps, ionizing candles, and natural air purifiers. Not only will you enhance the air you breathe, but you’ll also infuse your living space with a sense of tranquillity and well-being.
DIY Salt Lamp: Bringing the Glow of Negative Ion into Your Home
Materials:
- A large chunk of Himalayan salt
- A drill with a 1-inch drill bit
- A light bulb and cord set
- A drill, paddle bit, and smaller drill bit
- A chisel and hammer
- Sandpaper
- A small dish for the salt lamp to rest on
Instructions:
- Start by drilling a hole in the centre of the salt chunk using a 1-inch drill bit. Be sure the hole is wide enough to accommodate your light bulb and cord.
- Use a paddle bit to widen the hole, creating space for the bulb socket. Make sure it fits securely.
- Drill a smaller hole from the side of the salt lamp to meet the hole you’ve created for the bulb. This will serve as a path for the cord.
- Smooth the edges of the drilled holes with sandpaper to avoid rough edges.
- Insert the light bulb socket and cord through the holes. Secure the bulb in the socket.
- Place your DIY salt lamp on a small dish and plug it in. As the bulb heats the salt, it will release negative ions into the air.
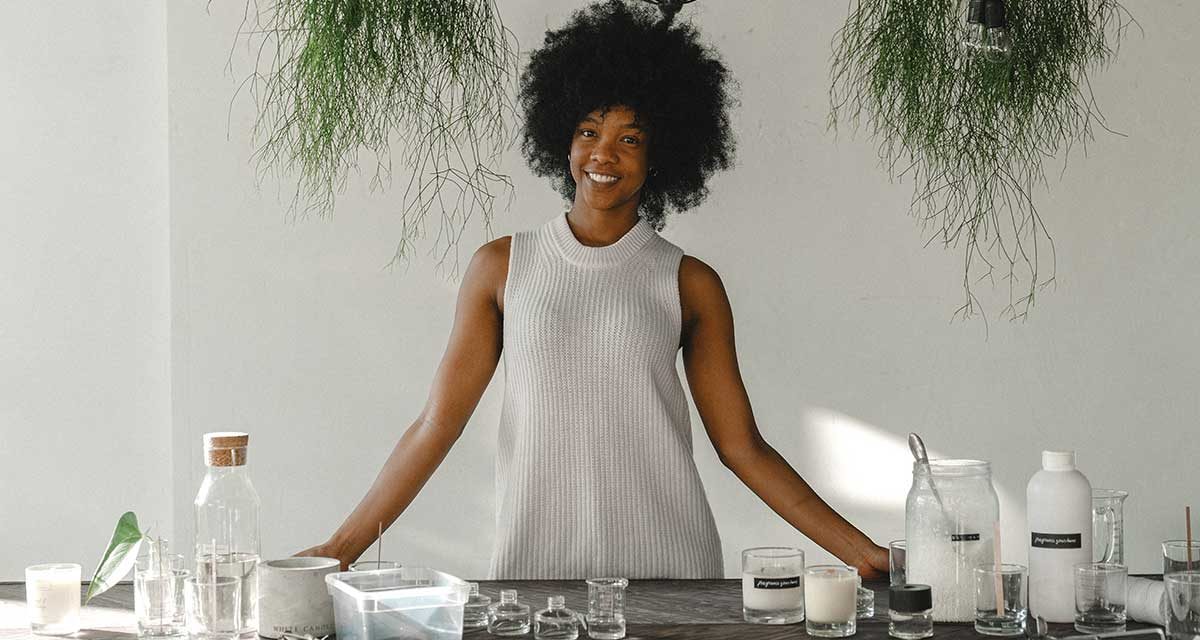
Ionizing Candles: Creating a Relaxing Atmosphere with Negative Ions
Materials:
- Beeswax candles
- Natural wicks
- Himalayan salt chunks
- Candleholder
- Matches or a lighter
Instructions:
- Place a Himalayan salt chunk inside a suitable candle holder.
- Insert a natural wick into the salt chunk, making sure it stands upright.
- Pour melted beeswax around the salt chunk and wick. Allow it to cool and solidify.
- Light the candle and let it burn. The heat from the flame will release negative ions into the surrounding air.


Natural Air Purifiers: Ionizing Your Living Space with Houseplants
Materials:
- Indoor houseplants with ionizing properties (e.g., spider plant, peace lily, Boston fern)
- Plant pots
- Potting soil
Instructions:
- Select houseplants known for their negative ion-producing abilities. Research the specific care requirements for each type of plant.
- Choose attractive plant pots that suit your home’s décor.
- Repot the plants into their new pots, using fresh potting soil.
- Place the plants strategically around your home, ensuring they receive the right amount of light and water according to their individual needs.
Safety Tips:
- When crafting the DIY salt lamp and ionizing candles, exercise caution when handling tools and be mindful of potential hazards.
- Ensure your DIY creations are kept out of the reach of children and pets to avoid accidents.
- Be careful when using sharp tools and open flames, and follow safety guidelines for electrical appliances and lighting.
Negative Ion Wall Art: Aesthetic Decor with Health Benefits
Materials:
- A large canvas or wooden frame
- Decorative rocks or crystals (e.g., amethyst, quartz)
- Epoxy resin
- Paints, brushes, and other artistic supplies
Instructions:
- Start by selecting a large canvas or wooden frame for your wall art.
- Arrange decorative rocks or crystals in a pleasing design on the canvas.
- Use epoxy resin to secure the rocks in place and create a smooth, glossy finish. Follow the manufacturer’s instructions for mixing and applying the epoxy.
- Once the epoxy has dried and cured, you can further enhance the artwork by painting or decorating the surrounding space to create an eye-catching piece of wall art.
- Hang your negative ion wall art in a prominent place in your home to enjoy the aesthetic beauty and the ionizing benefits it provides.
Safety Tips:
- Be cautious when using epoxy resin, as it can release fumes and be harmful if not used in a well-ventilated area.
- Follow safety guidelines for battery-operated devices, especially when using them around water.


DIY Negative Ion Water Fountain: Combining Nature and Craftsmanship
Materials:
- A small water pump
- A container or basin
- River rocks or pebbles
- Water
- A decorative fountain feature (optional)
Instructions:
- Choose a suitable container or basin for your DIY water fountain. Ensure it’s watertight and can accommodate the water pump.
- Place the water pump in the container and attach the tubing if necessary. The tubing should lead water from the pump to the surface.
- Arrange river rocks or pebbles in the container around the water pump. These will serve as the medium for the water to flow over, releasing negative ions into the air.
- Fill the container with water until it covers the rocks. Make sure the water pump is fully submerged.
- Add a decorative fountain feature on top of the rocks for an aesthetically pleasing touch.
- Plug in the water pump and let the fountain circulate water over the rocks. This will not only create a tranquil atmosphere but also generate negative ions.


Negative Ions for Better Sleep: Crafting an Ionized Bedroom Sanctuary
Materials:
- Salt lamp or ionizing air purifier
- Aromatherapy diffuser
- Blackout curtains
- High-quality bedding and pillows
Instructions:
- To create a bedroom sanctuary with increased negative ions, include a salt lamp or ionizing air purifier, as discussed in previous sections.
- Add an aromatherapy diffuser that can disperse ionized essential oils. Choose calming scents like lavender, chamomile, or cedarwood to promote better sleep.
- Install blackout curtains to block out external light sources and create a restful atmosphere, allowing you to sleep more soundly.
- Invest in high-quality bedding and pillows to enhance comfort and encourage relaxation.
- Keep your bedroom well-ventilated by opening windows during the day and using a fan or air purifier with ionization capabilities to ensure a constant supply of negative ions in the air.


Negative Ion Jewelry: Wearing the Benefits
Materials:
- Natural gemstone beads (e.g., amethyst, rose quartz, tourmaline)
- Jewelry wire or cord
- Clasps and findings
- Pliers and wire cutters
Instructions:
- Choose natural gemstone beads known for their negative ion-generating properties. Amethyst, rose quartz, and tourmaline are popular choices.
- Create a design by stringing the gemstone beads onto jewellery wire or cord, alternating with other decorative beads if desired.
- Add clasps and findings to complete the jewellery piece, ensuring it’s secure and comfortable to wear.
- Wear your negative ion jewellery regularly to enjoy the benefits of the ionizing gemstones, both for health and style.


Negative Ion Zen Garden: A DIY Stress-Relieving Oasis
Materials:
- A shallow container or tray
- Fine sand or gravel
- Small decorative stones or pebbles
- Miniature rake or fork
- Small figurines or objects for decoration
Instructions:
- Choose a shallow container or tray that will serve as the base of your Zen garden.
- Fill the container with fine sand or gravel, creating a smooth and even surface.
- Arrange small decorative stones or pebbles on the sand, creating patterns or designs that are pleasing to the eye.
- Place a miniature rake or fork next to the garden for the purpose of drawing lines and patterns in the sand.
- Add small figurines or objects to complete the Zen garden’s aesthetic and create a calming ambience.
- Use the miniature rake to create patterns in the sand, encouraging relaxation and mindfulness as you engage with your Zen garden.


Negative Ion Bath Bombs: Relaxation and Air Purification
Materials:
- Baking soda
- Citric acid
- Epsom salt
- Essential oils (e.g., lavender, eucalyptus)
- Natural colouring (optional)
- Water
- Silicone molds
Instructions:
- In a mixing bowl, combine 1 cup of baking soda, 1/2 cup of citric acid, and 1/2 cup of Epsom salt.
- Add a few drops of your preferred essential oils to the dry mixture, along with natural colouring if desired.
- Slowly add water to the mixture, stirring as you go. Be cautious not to over-wet the mixture; it should hold together when squeezed.
- Pack the mixture into silicone moulds, creating bath bombs of your desired shapes and sizes.
- Allow the bath bombs to dry and harden for at least 24 hours.
- When you’re ready for a relaxing bath, drop one of these ionized bath bombs into the water. As it fizzes and releases essential oils, it will also help purify the air with negative ions.


Negative Ion-Infused Bathing: DIY Ionizing Bath Crystals
Materials:
- Epsom salt
- Baking soda
- Essential oils (e.g., lavender, rosemary)
- Airtight container
Instructions:
- In a mixing bowl, combine 2 cups of Epsom salt and 1 cup of baking soda.
- Add a few drops of your preferred essential oils to the mixture. Lavender and rosemary are excellent choices for relaxation and well-being.
- Stir the ingredients together thoroughly, ensuring an even distribution of essential oils.
- Transfer the ionizing bath crystals into an airtight container to preserve their freshness.
- Add a cup of these bath crystals to your warm bath. As they dissolve, they release negative ions into the steam, providing a relaxing and purifying experience.
Embracing DIY Negative Ion Projects for Health and Creativity
Crafting DIY projects that increase negative ions in your home promotes better air quality. It offers a sense of fulfilment and creativity. Whether through salt lamps, ionizing candles, natural air purifiers, aromatherapy diffusers, or wall art, these projects bring the power of negative ions into your living space while enhancing its beauty and ambience. So, roll up your sleeves, get creative, and watch your home transform into a healthier and more invigorating haven for you and your family.
“As an Amazon Associate, I earn from qualifying purchases”
Frequently Asked Questions (FAQ) About DIY Negative Ion Projects for Your Home
1. What are negative ions, and why are they beneficial for my home?
Negative ions are charged particles found in the air, especially in natural settings like waterfalls, forests, and oceans. They can help improve air quality, reduce allergens, enhance overall well-being, and create a sense of tranquillity in your home.
2. How do negative ions work to purify the air in my home?
Negative ions attract and bind to airborne particles such as dust, pollen, and allergens. This process makes these particles heavier and causes them to fall to the ground, effectively removing them from the air you breathe.
3. Can I create negative ions in my home without DIY projects?
Yes, there are other methods to increase negative ions in your home. You can open windows and allow outdoor air to circulate, use air purifiers with ionization features, or invest in ion-generating machines.
4. Are there any safety concerns associated with DIY negative ion projects?
While DIY projects are generally safe, some involve the use of tools, electricity, or chemicals. Exercise caution when handling tools and follow safety guidelines. Ensure that DIY creations are out of reach of children and pets to prevent accidents.
5. Can negative ion projects improve my health and well-being?
There’s evidence to suggest that increased negative ion exposure can lead to better mood, reduced stress, and improved overall health. However, individual results may vary, and these projects are not a substitute for medical advice or professional air purification systems.
6. Can I combine multiple DIY negative ion projects in one room?
Yes, you can combine multiple DIY projects in the same room to enhance air quality and ambience. Ensure each project is placed in a suitable location and complements the overall decor.
7. Do negative ion-generating houseplants require special care?
Houseplants that generate negative ions, such as spider plants and peace lilies, have specific care requirements like appropriate lighting and watering. It’s essential to research the needs of each plant to ensure they thrive and continue to release negative ions.

